Let's enjoy some delicious vegan side dishes, both savory and sweet.
A side dish is a food served with a meal, but I can eat most of these all on their own!
~~~~~~~~~~~~~~~~~~~
Let's start with some savory sides...
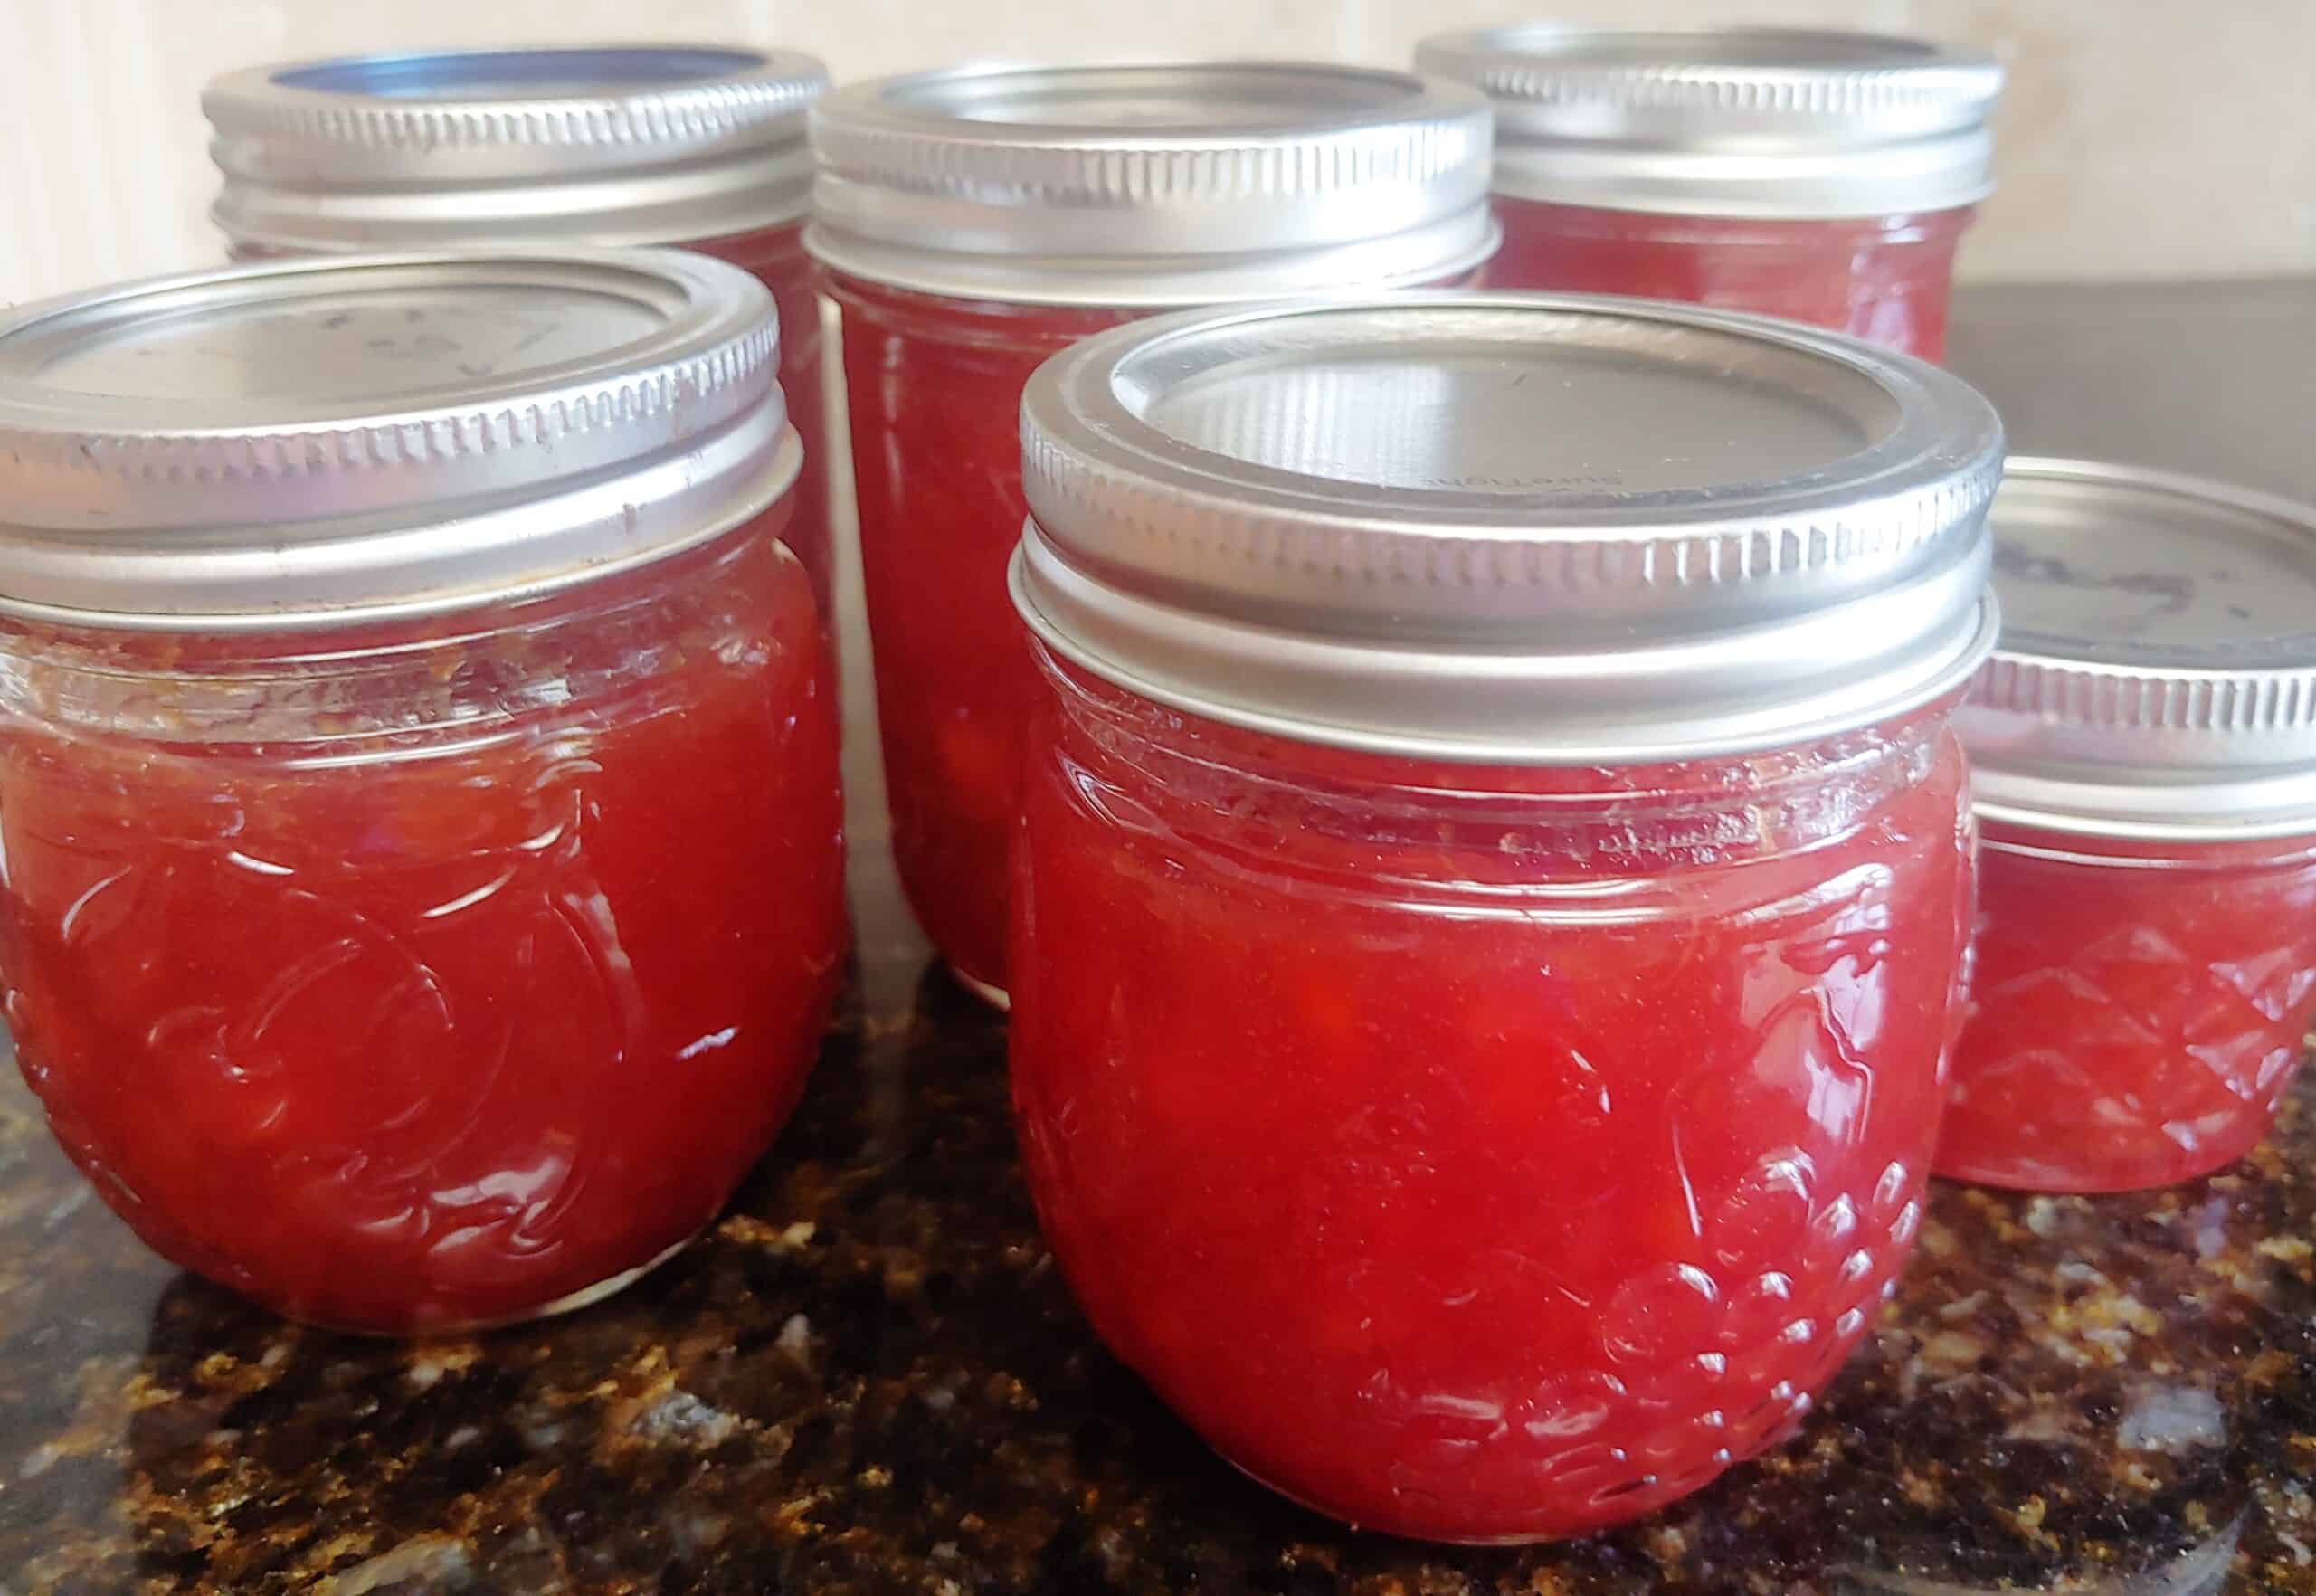
Sweet and Spicy Pepper Relish

This relish spices up sandwiches, burger & hot dogs, tuna salad, salmon, crackers and cheese, and so much more. I made many jars of relish when our garden was producing an inordinate number of peppers!
- 1 lb. peppers (bell peppers, or try a combo of bell/chili/jalapeno) – about 4 cups finely diced
- 1/2 large onion, finely diced
- 1-1/4 cups white sugar
- 3/4 cup apple cider vinegar
- 1-1/2 tsp pickling salt (or regular salt if pickling salt not available)
- Trim tops of peppers and remove seeds. Chop into small pieces.
- Place all ingredients into pan and bring to a boil.
- Cook until slightly thickened, about 25-30 minutes.
- Ladle into mason jars and apply lids immediately.
- Chill before serving.
Pickled Red Onions
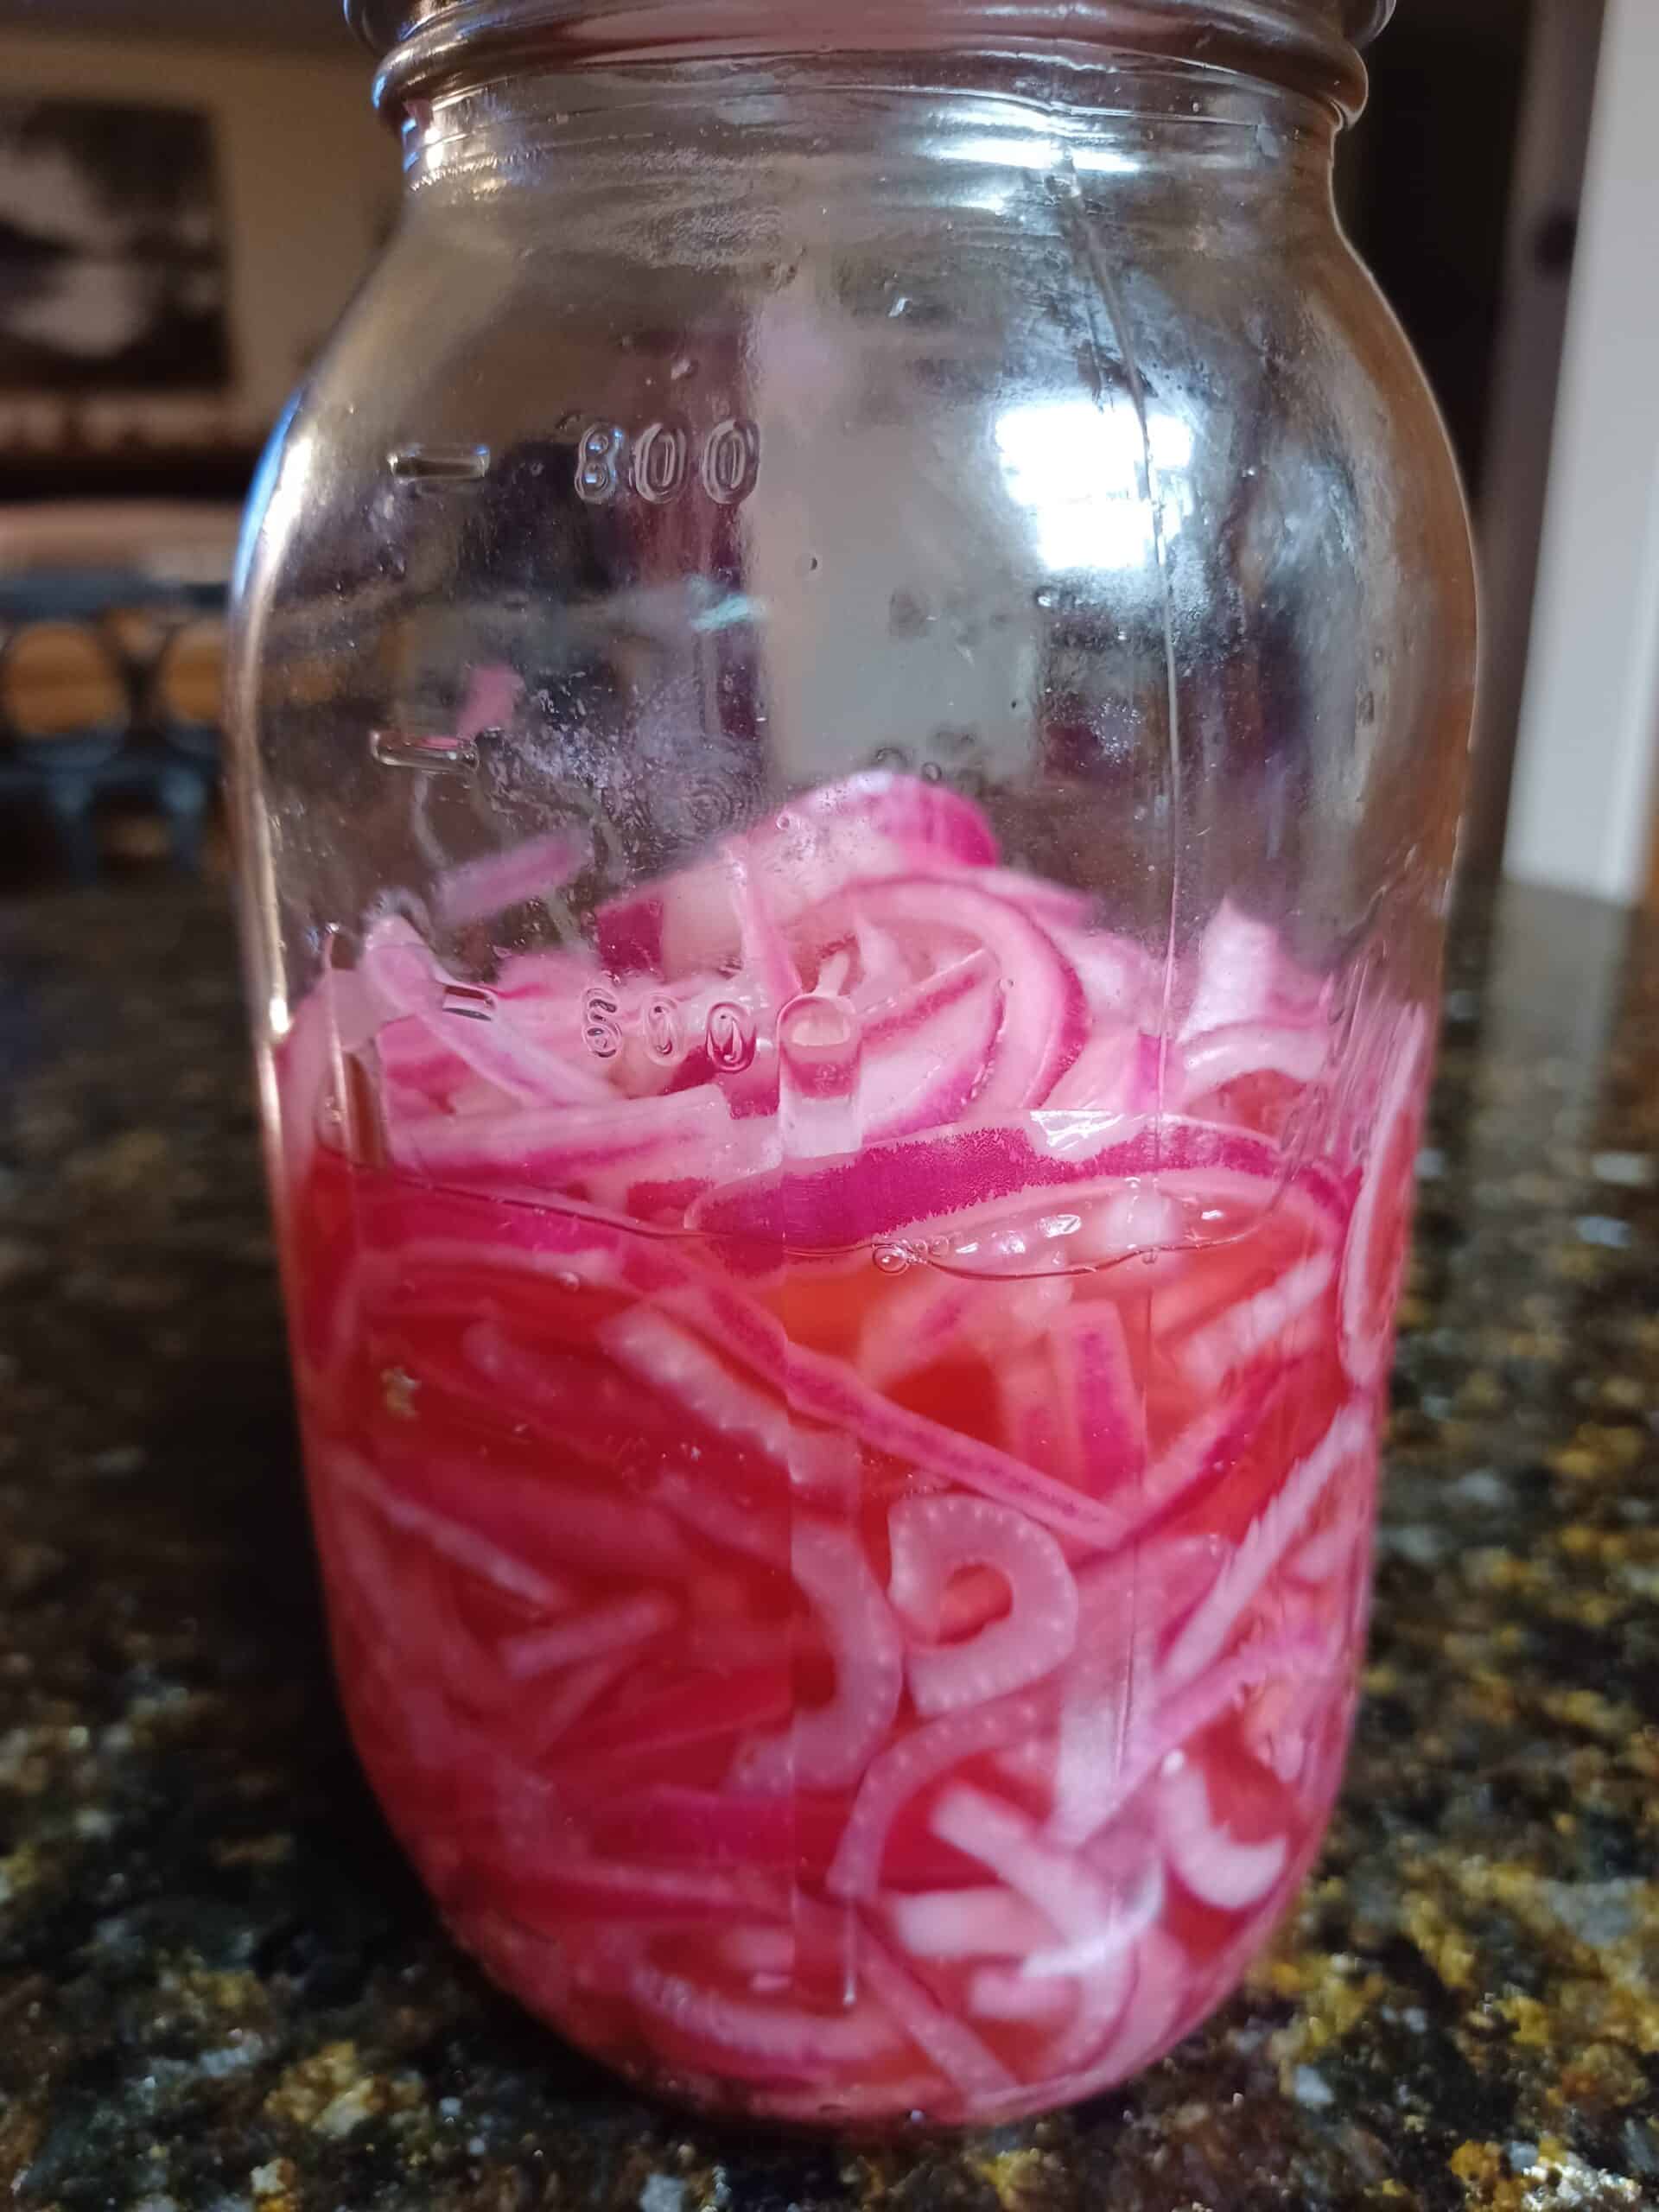
These pickled red onions are easy to make and are tangy, slightly sweet, and crunchy all at once. You can add them to salads, sandwiches, tacos, burgers, and much more! I filled the jar in the photo to the top with the raw sliced onions, but note that they will compress a lot while marinating.
Play around with the spices. This recipe uses bay leaves, but try adding black peppercorns, red pepper flakes, whole or sliced garlic cloves, fresh herbs or mustard seeds to the pickling mixture.
- 1 medium red onion, peeled and sliced into rounds
- 1/2 cup apple cider vinegar
- 1/3 cup water
- 1 TBSP sugar
- 1 tsp salt
- 2 bay leaves
- In a small saucepan heat the vinegar, water, sugar and salt until it boils and the sugar dissolves, about 2 minutes.
- Transfer the onions into a mason jar along with the bay leaves and other spices. Pour the hot liquid over the onions.
- Set aside to cool, then refrigerate overnight.
NO-OIL Roasted Chickpeas
This is a healthy and delicious snack, or can be used as croutons in a salad. The great thing is, you don't need to add any oil!
But roasted chickpeas do tend to lose their crispiness quite quickly. You can keep them ultra-crispy by cooling them in the oven with the door open and oven off. Don't worry, they won't burn! Make sure they're completely cooled before storing, and then store at room temperate, covered but not air-tight so that any moisture can escape.
Ingredients:
- 1 15-oz can chickpeas (also known as garbanzo beans)
- 1/2 teaspoon fine grain sea salt
- 1/2 teaspoon garlic powder
- 1/2 teaspoon of your favorite flavoring (onion powder, smoked paprika, cayenne, etc.)
- Preheat oven to 400°.
- Drain and rinse the chickpeas. Place them on a towel, patting off any extra moisture.
- Add the remaining ingredients.
- Spread onto a roasting pan lined with parchment paper. Roast for 20 minutes.
- Loosen and shake around the chickpeas, which helps with the crispiness. Shake-and-roast in 10 minute intervals until golden and crisp inside and out. Total roasting time is typically 45 - 60 minutes.
- Eat right away or cool completely before storing.
~~~~~~~~~~~~~~~~~~~~~~~~~~~~~~
And now for some optional fun flavors! Mix the ingredients you've selected from below (or make your own flavor!), but don't add it until after the first 20 minute roasting cycle. Then mix the chickpeas with your liquid and spices, and put them back in the oven. They may be a bit sticky, so make sure they remain in a single layer. Continue with the 10 minute shake-and-roast intervals until crispy (at least 20 more minutes).
|
Garlic and 'Parmesan' 2 TBSP lemon juice 1 TBSP garlic powder 1 TBSP nutritional yeast 1/2 tsp dried oregano |
Maple and Cinnamon 2 TBSP Maple Syrup 1-1/2 TBSP cinnamon 1/2 TBSP allspice |
Sweet and Spicy Chili 1 TBSP Agave Syrup 1 TBSP lime juice 2 TBSP chili powder |
Homemade Baguette

This baguette recipe and the image are from momsdish. It requires only four simple ingredients and absolutely no kneading. But you do have to plan a day ahead!
For the best texture, use a flour with higher protein content such as King Arthur or Bob's Red Mill.
- 6 cups all-purpose flour
- 3 cups lukewarm water
- 2 tsp fresh yeast
- 2 tsp salt
- The night before, combine all ingredients together. First mix the dry ingredients and then add the water, mixing until the dough comes together. Cover with plastic wrap and let sit for 12-20 hours on the countertop.
- The following day, the dough should be wet, sticky and bubbly. Generously flour your hands and the baking sheet.
- Take the dough (if it sticks, apply more flour to your hands) and form a baguette shape. Place it on a baking sheet and sprinkle a generous amount of flour on it. Cover it with a towel. Let the dough rise in a warm place for 1-2 hours. Score the top with a sharp knife.
- Preheat the oven to 450°F. You will need to have 2 shelves in an oven. Fill a deep cooking sheet with 2 cups of hot boiled water, and place it on a lower level, inside your oven. This will make the bread crispy on the outside. Place the bread on the top rack. Remove water from the oven after 10 minutes. Keep baking the bread for another 30 minutes or until crispy golden brown.
Lentil Flatbread

This flatbread recipe is from Cook with Joy. It requires only four ingredients and is healthy, though you do have to remember to soak the lentils ahead of time.
- 1 cup red lentils, soaked overnight
- 2 garlic cloves
- 1 tsp salt
- 1/2 tsp baking powder
- 1/2 cup water
- olive oil
- Soak the lentils in a covered container overnight, or at least 6 hours.
- Drain & rinse the lentils.
- Preheat oven to 425°F. Line a cookie sheet with parchment paper, set aside.
- Place lentils, garlic, salt and baking powder in a food processor or blender. Blend until smooth, adding up to 1/2 cup water as needed to get a smooth and pourable consistency.
- Brush parchment lined cookie sheet with olive oil.
- Pour the batter onto the parchment paper & spread into desired shape using a spatula, about 1/4-1/2" thick. Drizzle lightly with olive oil.
- Bake for 20-25 minutes, or until firm and edges are beginning to turn golden.
- If making pizza, add desired toppings and bake at 425℉ for about 10 minutes.
Crispy Air Fryer Tofu
When I use tofu in a dinner recipe, I really want it to be a little crispy and browned. The first few times I tried making tofu, it was either too wet, too dry or too chewy (over-cooked). So here is my current favorite tofu recipe, though it is a little fiddly with all the different spices. Note that you'll need a tofu press and of course an air fryer!
Please note that this recipe only works with extra firm tofu. No substitutions here! And my apologies, but I keep forgetting to take a picture of the cooked tofu...next time!
- 1 lb (16oz) block of extra firm tofu, pressed and then cut into 1” cubes
- 1/2 tsp onion powder
- 1 tsp smoked paprika
- 2 tsp cornstarch
- 1/2 TBSP tamari or soy sauce
- 1/2 tsp sesame oil
- Salt and pepper to taste
- Place the pressed and cubed tofu into a medium size bowl. Add in all the remaining ingredients, and toss thoroughly to combine.
- Set your air fryer to 400°F for 10 minutes, with the preheat and turn reminder options selected.
- After the preheat, add the tofu mixture to the air fryer, making sure to keep it in a single layer. For my size air fryer, this means that I have to cook a 16oz block in two batches.
- After 5 minutes, shake the basket and continue to cook.
- Remove from the fryer after the tofu has finished cooking.
** Recipe adapted from jessicainthekitchen.com
And you'll love these sweet sides! Sometimes I just enjoy nibbling on a little apple sauce as a snack. Some of these sweet sides can be used as dessert toppings, yogurt flavoring, on top of pancakes, crepes and waffles, and marmalade goes well with crackers and any kind of cheese.
Simple Cranberry Sauce
Servings: 2-1/4 cups

I enjoy cranberry sauce as a condiment all year long, but find that my local grocery store only carries fresh cranberries around the Thanksgiving season. So if you have a large freezer like I do and love cranberries as a side dish, then I suggest you stock up when you can! The following recipe is very basic, but I’m including it here so that I can always find it!
- 3/4 cup water
- 1 cup sugar
- 3 cups fresh cranberries
- Orange zest or 1 TBSP orange juice (optional)
- Boil the water and sugar, and allow the sugar to dissolve.
- Add the cranberries and return to a boil. Cover and cook for about 10 minutes, stirring occasionally. You should hear the cranberries “pop” as they burst.
- Spoon into mason jars and tighten lids while still hot. Personally, I don’t put all the juice into the mason jars, but keep some separate for adding flavor to my breakfast smoothies. Cranberries have a lot of pectin, so the cranberry sauce and the separated juice will thicken as it cools.
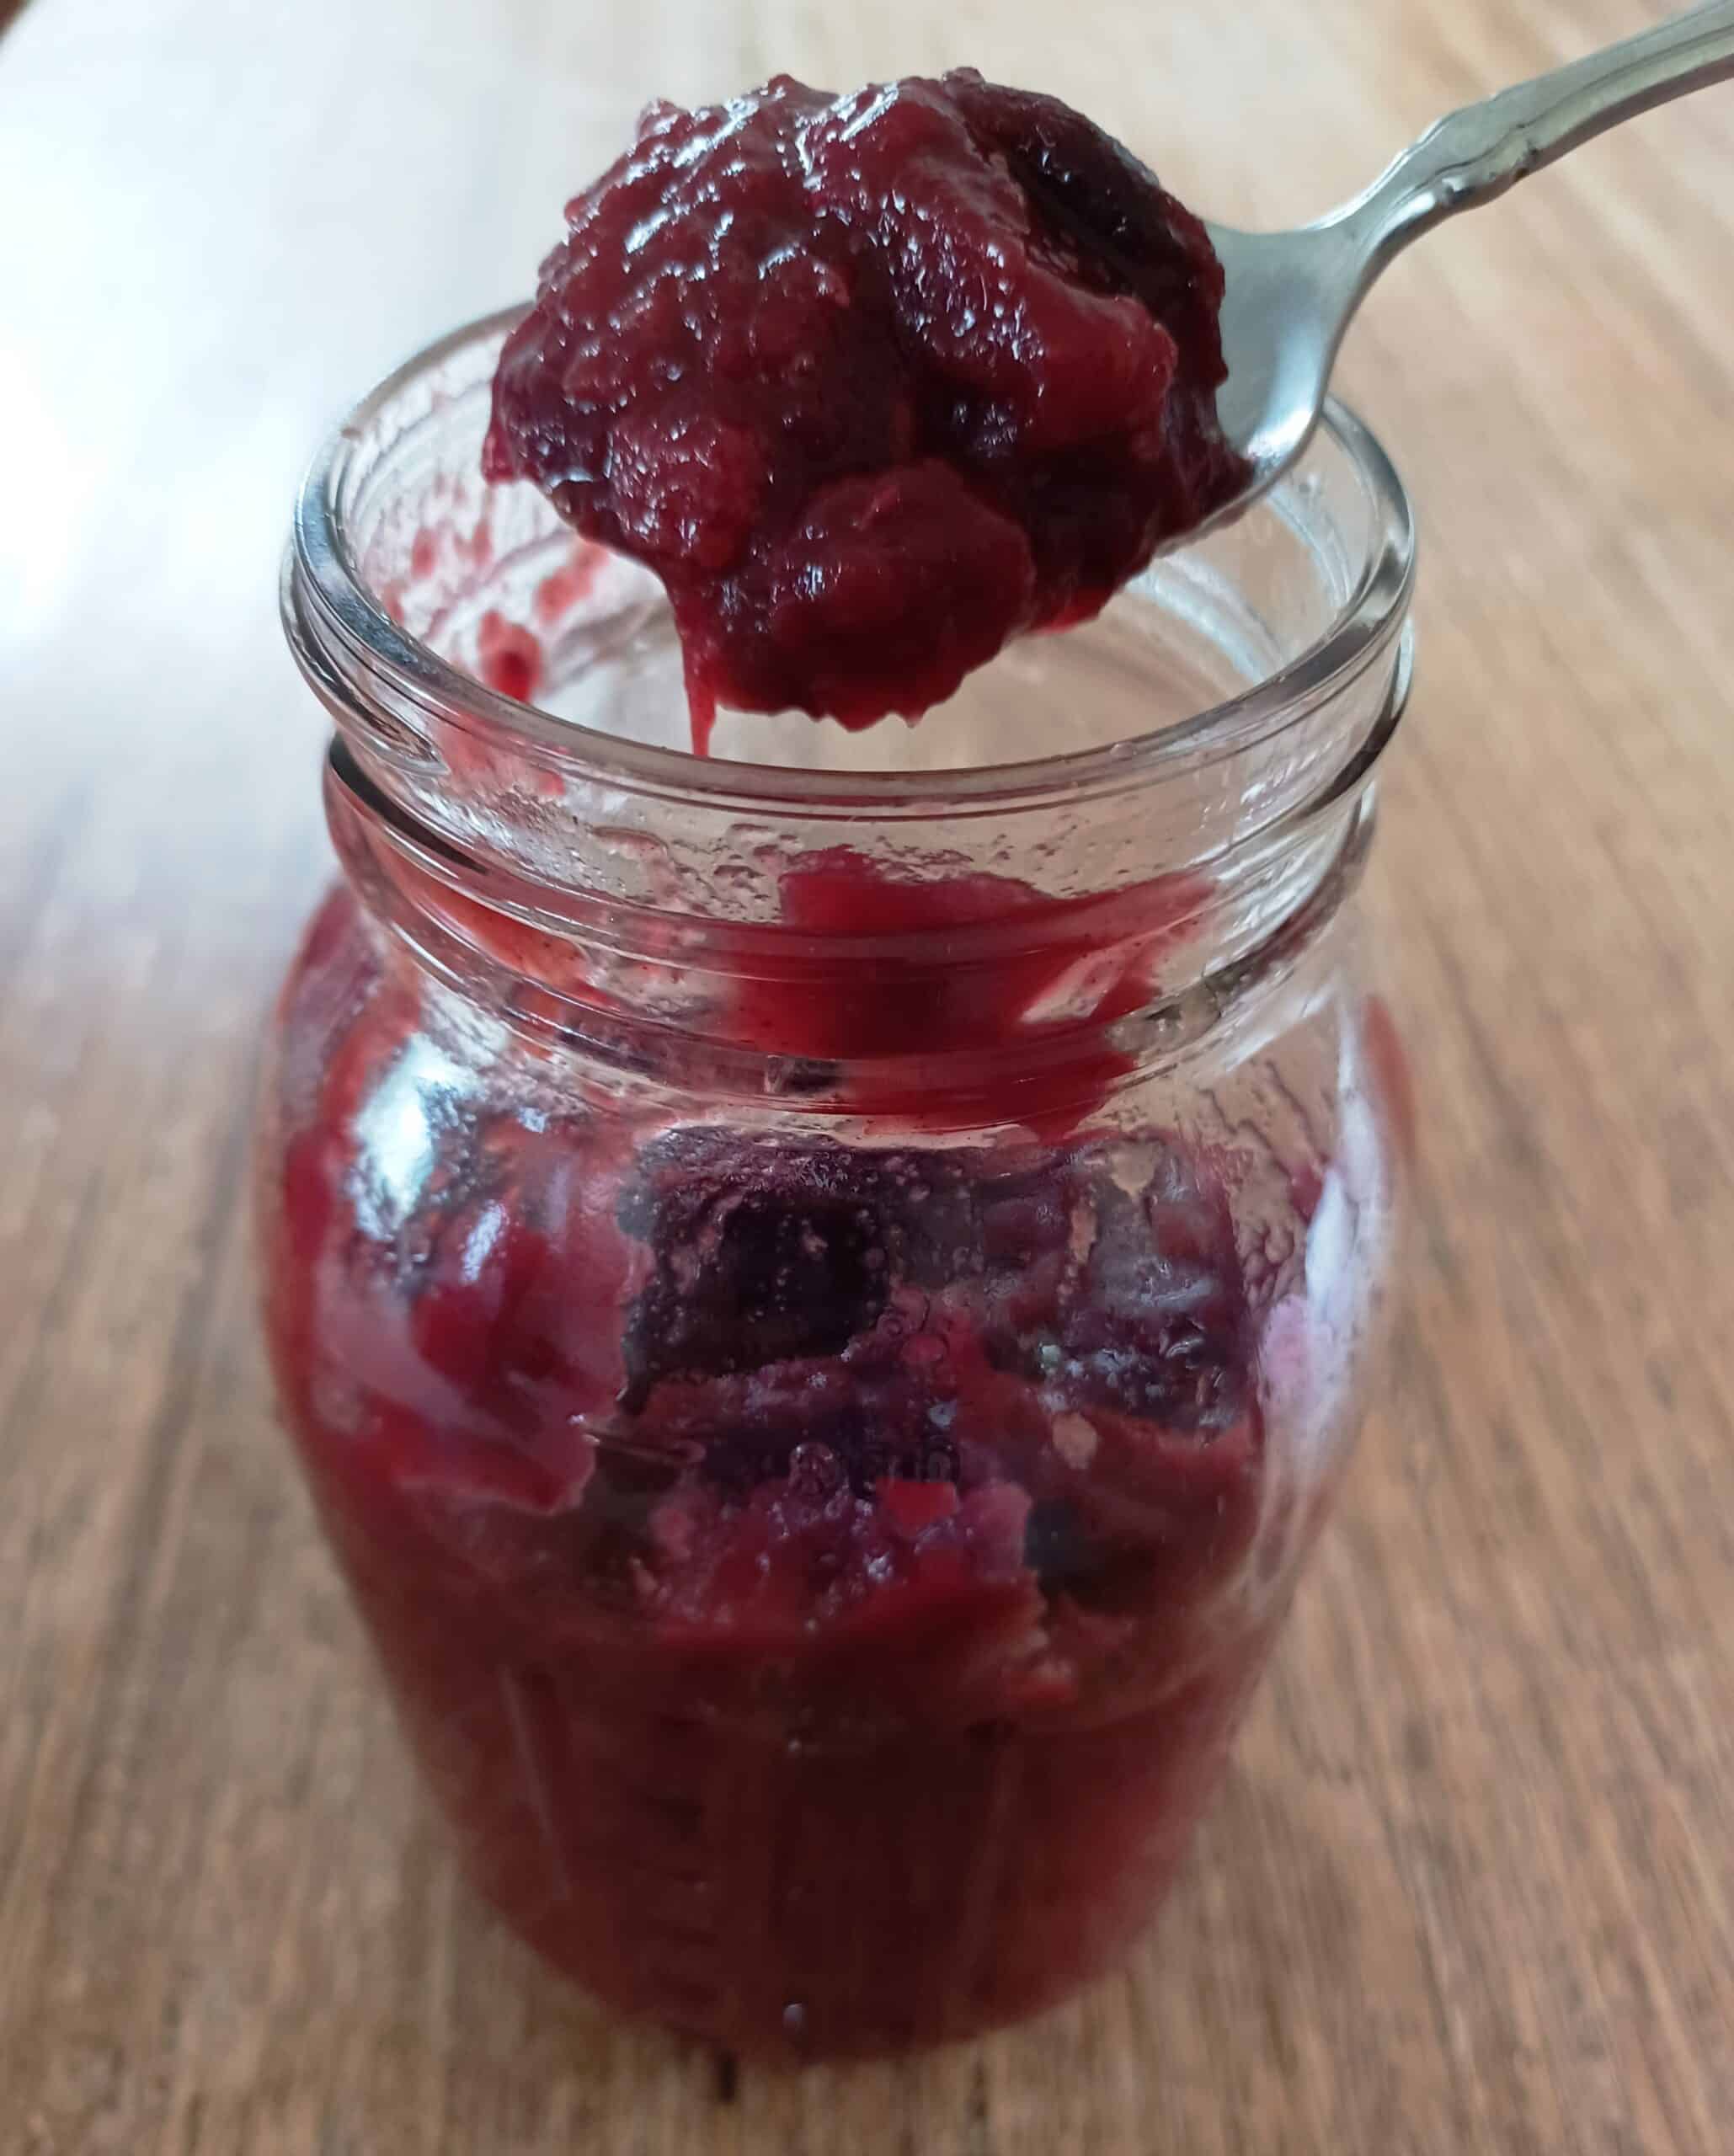
Cranberry-Apple Chutney
Although I have my simple cranberry sauce in my fridge year round, this cranberry and apple relish is a little more effort but worth making for your holiday meals!
Servings: 8 or more
- 12 ounces fresh cranberries
- 1 cup peeled, diced Granny Smith apple
- 1 cup orange juice, preferably fresh
- 1/2 cup chopped dried apricots
- 1 teaspoon freshly grated ginger
- 1 teaspoon ground cinnamon
- 1/2 teaspoon ground cloves
- 3 to 4 tablespoons agave nectar or maple syrup, to taste
- Place all the ingredients except the agave nectar in a deep saucepan and bring to a simmer. Cook over low heat with the lid slightly ajar for 20 to 25 minutes, or until the liquid is mostly absorbed.
- Add agave nectar to taste and simmer uncovered for another 5 to 10 minutes until thick.
- Spoon the chutney into sterilized jars, and let cool to room temperature. Refrigerate until needed.
Marmalade
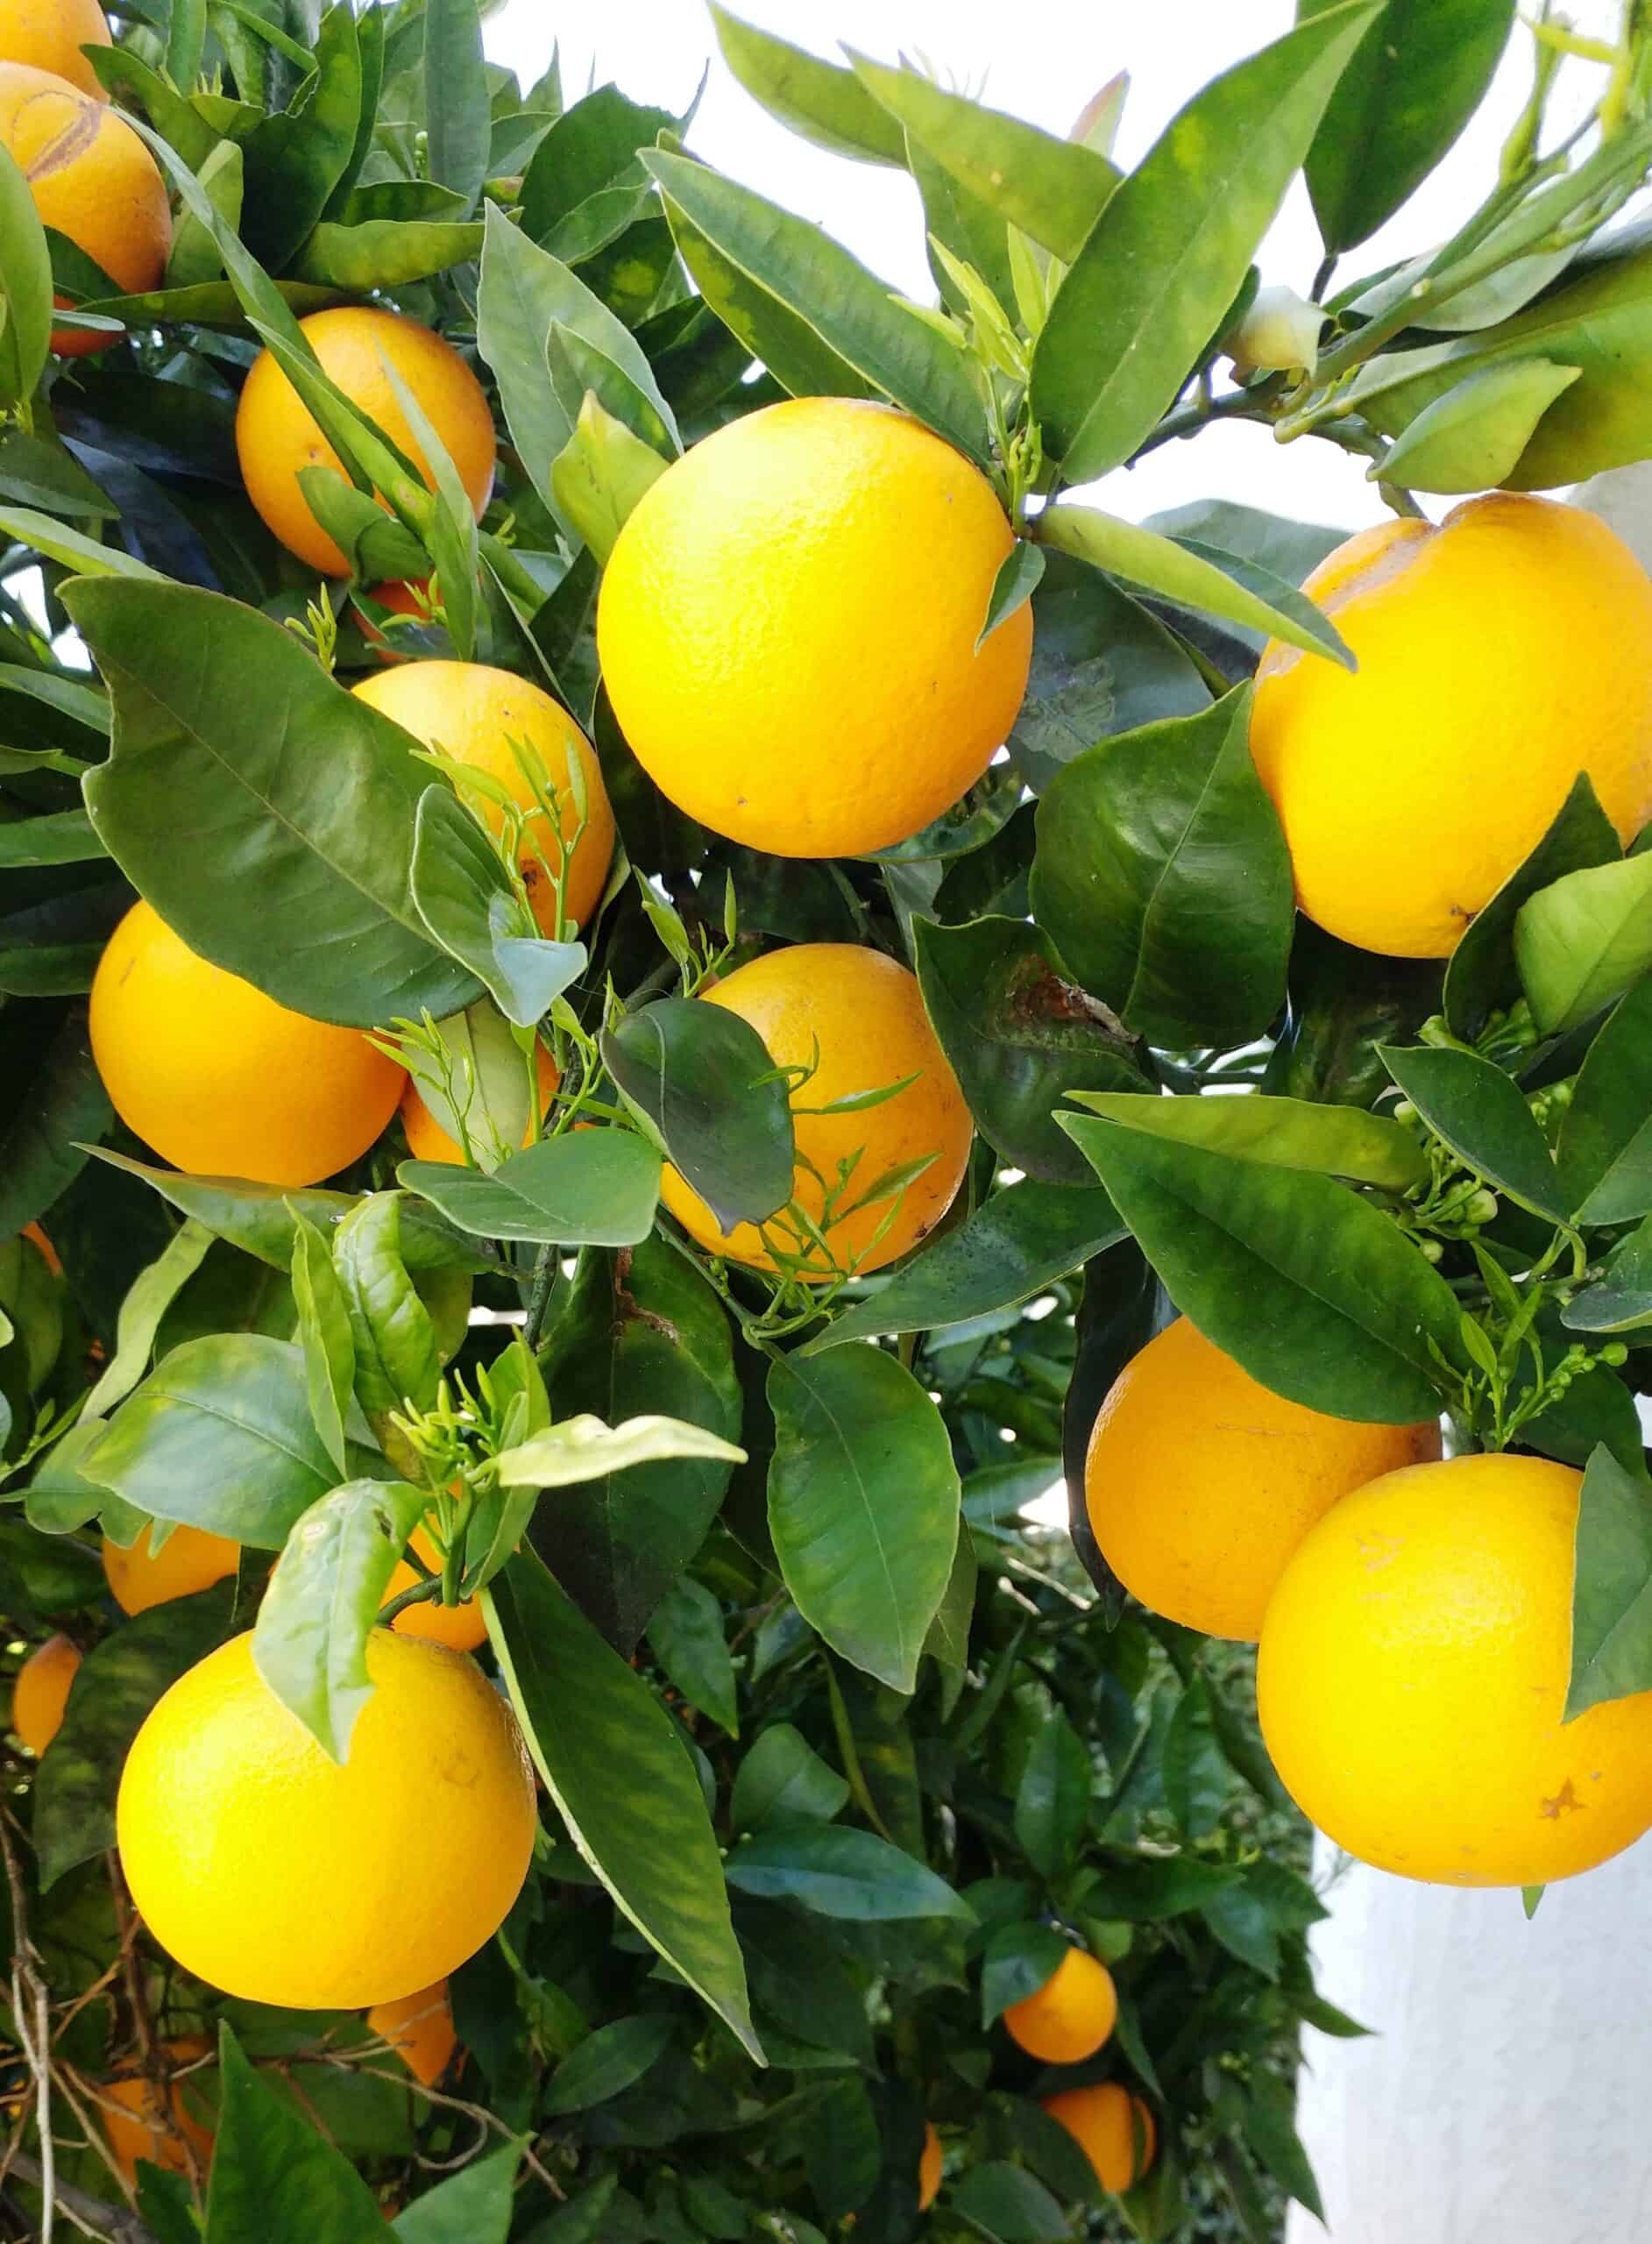
Our naval orange tree produces large, sweet oranges that are easy to peel and great for eating. But we also have a dwarf orange tree that is over 30 years old and produces about 500 oranges each season. These oranges are smaller, hard to peel and a little sour, which makes them perfect for marmalade!
You will need a canning funnel used to fill the jars (definitely worth getting), and an instant-read digital candy thermometer.
As with all jams and jellies, the tough part is to figure out the pectin so that the result is not too runny and not too gooey. For my last few batches, I've had great success with the Ball Realfruit "Low or No-Sugar Needed" Pectin, which allows me to use less sugar with the same results.
Produces about 7 8-oz mason jars
- 4 cups juice (about 12-14 small oranges)
- 2 large or 3 small lemons
- 1 cup water
- 2 cups rind
- Sugar (about 4 cups, see instructions)
- Pectin (1.5 TBSP per cup of sugar added)
- Wash jars and place in 200℉ oven to sterilize.
- Thoroughly scrub the oranges and lemons.
- Use a julienne peeler to make small strips of rind. You may need to use a sharp knife to get a consistent size (you really don't want large chunks of rind in your finished product!). This is fiddly and time consuming, so allow about an hour for this step.
- Juice the oranges and lemons.
- Cook juice, water and rinds for 30 minutes.
- Measure the mixture (some will have evaporated) and add 7/8 cup sugar for each cup of mixture. Note when using 'low or no-sugar needed' pectin, you can reduce this to 3/4 cups sugar per cup of mixture, or even less. Stir to completely dissolve the sugar.
- Remove some of the juice from the pan, and whisk in the pectin until dissolved. Add the pectin back to the mixture and stir thoroughly.
- Cook until mixture reaches at least 220℉ (make sure that the tip of the thermometer is not touching the bottom of the pan). You will know when the marmalade is ready, since the spoon will get sticky and the mixture will no longer be runny.
- Using the funnel, pour the mixture into the hot jars. The funnel will allow you to do this quickly and efficiently, keeping the rims of the jars clean. Tighten the lids firmly.
- Cool at room temperature. While cooling, you can occasionally tilt the jars to keep the rind evenly suspended.
Nectarine/Peach Jam
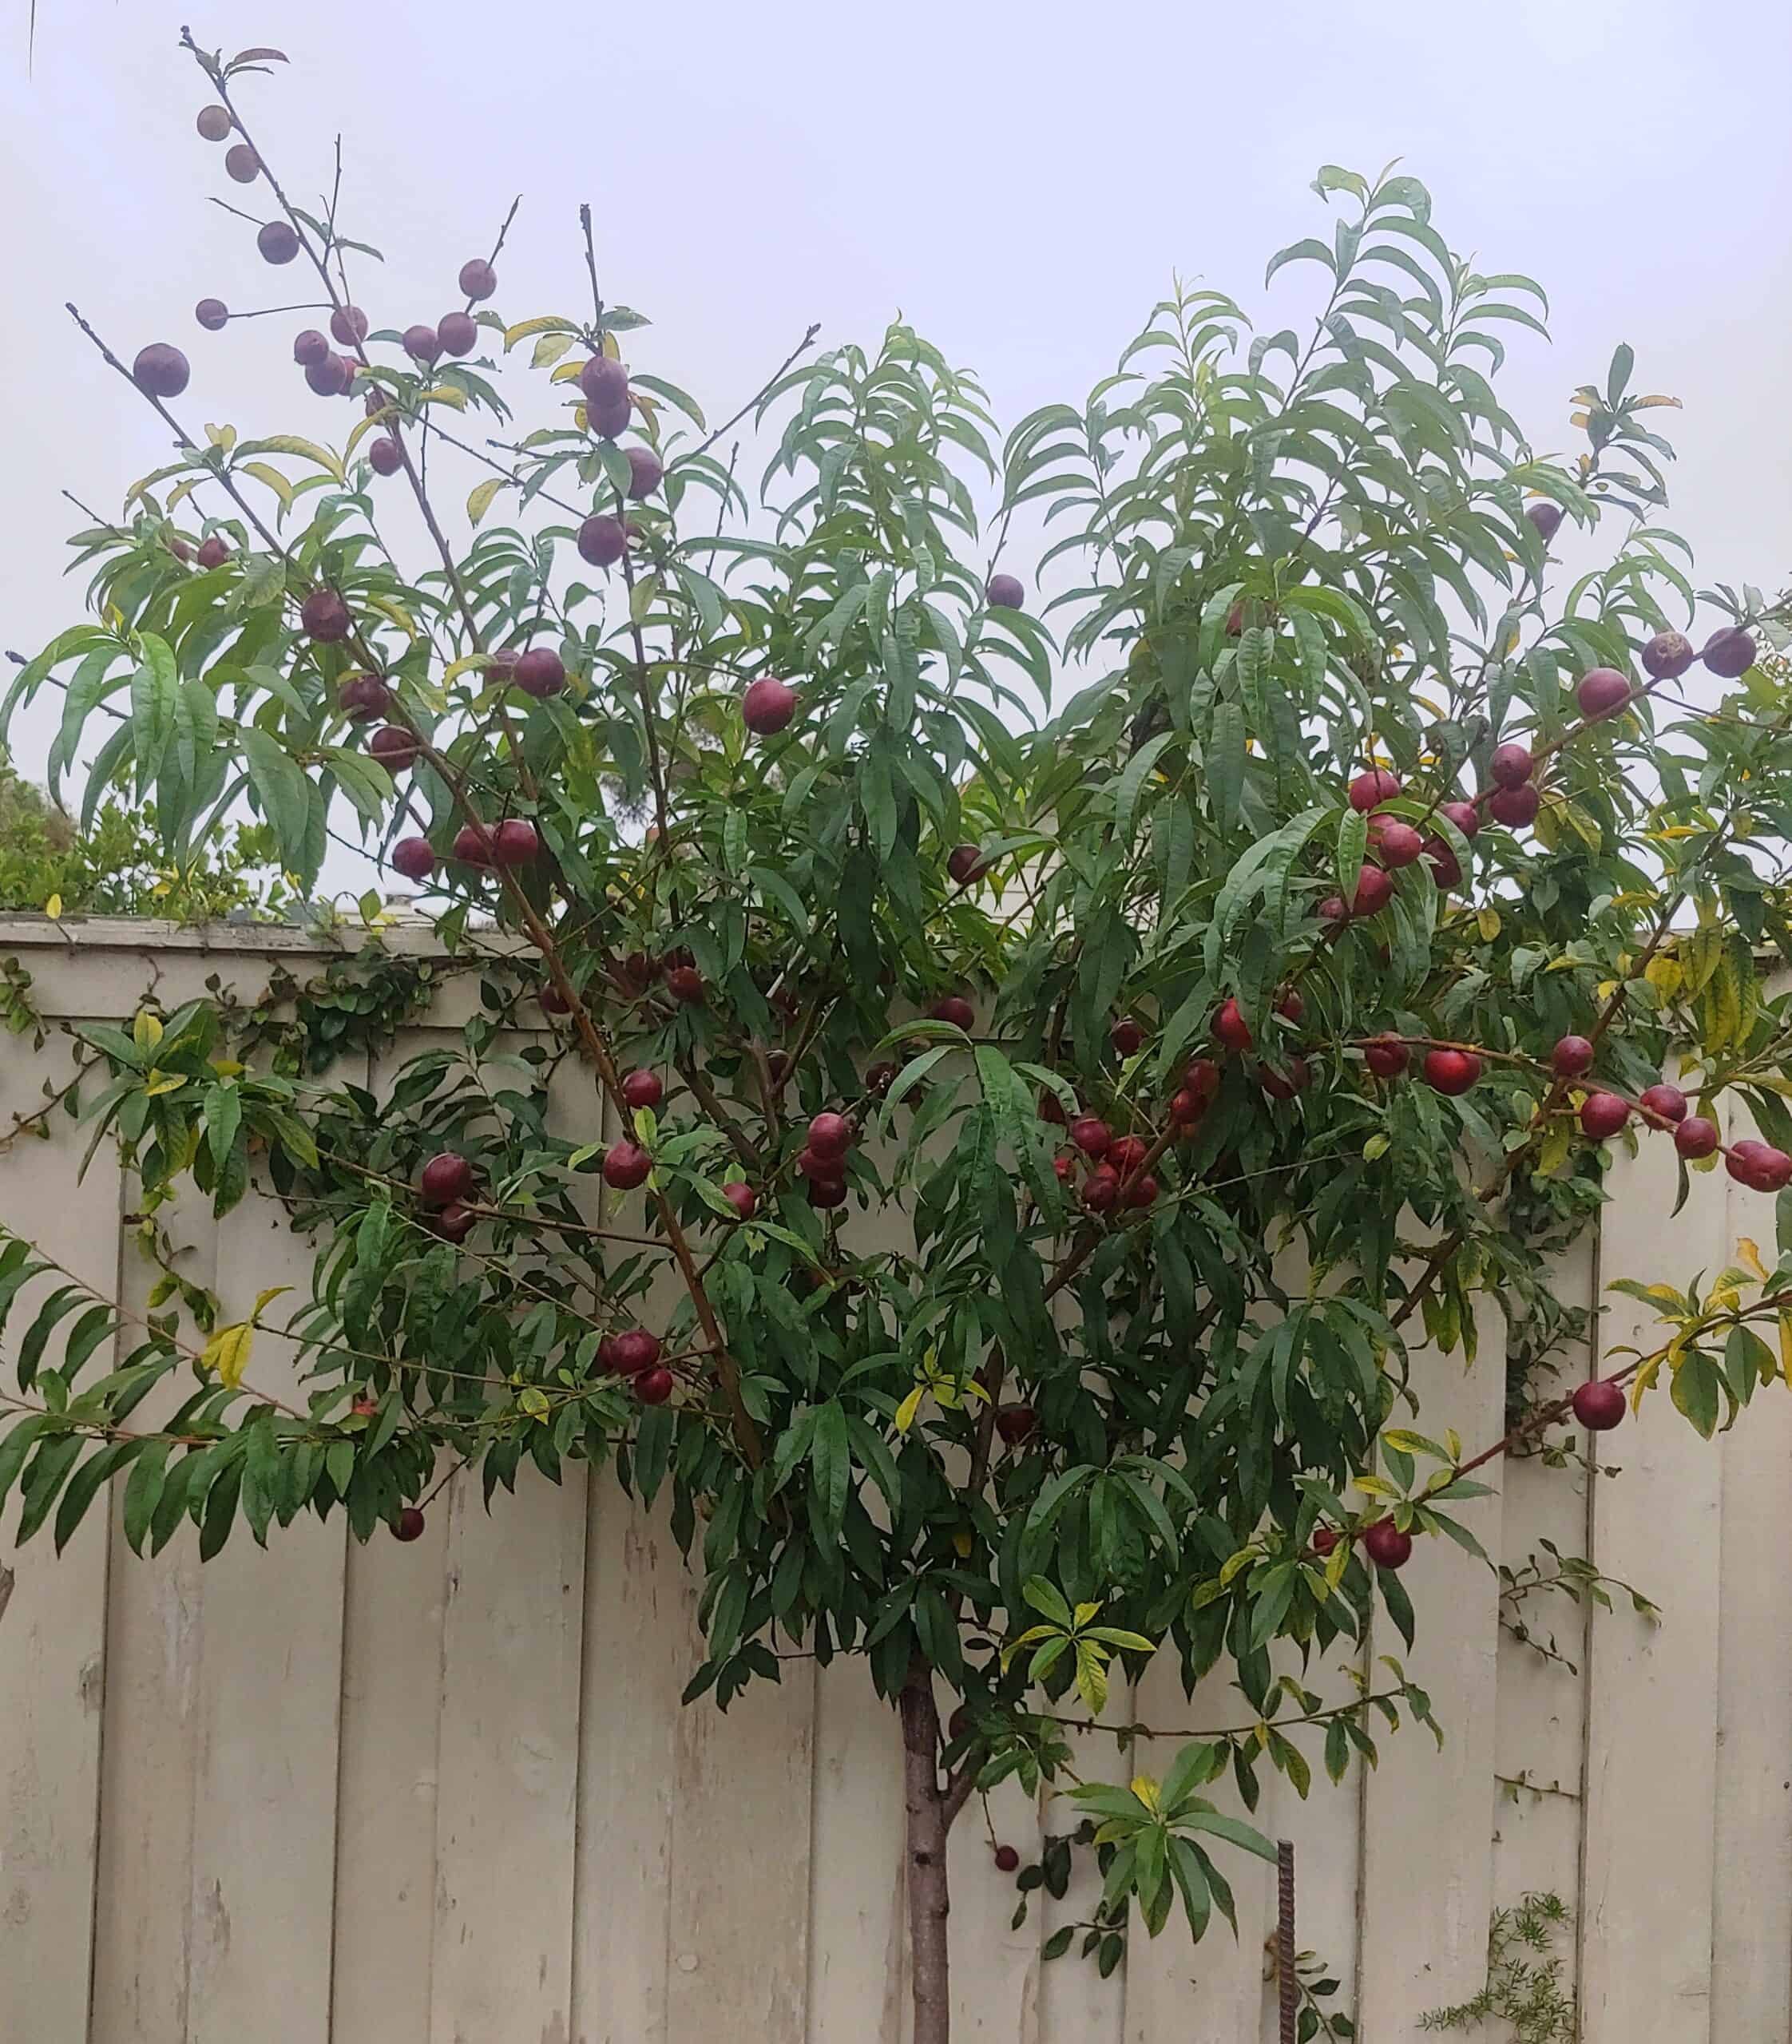
Our baby nectarine tree has started producing an impressive amount of fruit, and they are sweet and delicious although still on the small side. The image was taken in July '22 when the tree was either 3 or 4 years old (we can't quite remember!).
For a jam, this is a simple recipe and is made without pectin. And yes, I've made this with nectarines, peaches and plums with the same delicious results. There is enough pectin in all these fruits to thicken it to the perfect consistency!
It's good to have an instant-read digital candy thermometer and a canning funnel, but no worries if you don't. I've added some notes below on how to check for readiness. I use a scale to measure ingredients, but I've also added the equivalent cup measure.
Makes: six 8-oz mason jars
- 2.2 lbs peaches or nectarines, weighed after removing pits (5 cups chopped)
- 1 large lemon (2-3 TBSP)
- 1.7 lbs granulated sugar (3-3/4 cups)
- Wash and then sterilize mason jars by placing them in a 275℉ oven for at least 15 mins. I just do this when I start making the jam which is plenty of time.
- Wash the peaches/nectarines and remove any bruised spots. Remove the stone. There is no need to peel the fruit.
- Cut the fruit into 6-8 wedges, then cut into smaller chunks.
- Place the fruit in a large pot and add the lemon juice. Bring to a boil on medium-low heat and simmer for 10 minutes until the pieces are soft.
- Add the sugar and stir until the sugar is dissolved.
- Cook on medium-high heat for about 20 minutes until set, stirring and scraping the bottom every few minutes to prevent the jam from catching. Check if the jam is set (see notes below).
- For chunky jam, leave the preserves to cool for about 10 minutes to allow the fruit pieces to distribute evenly. For smooth jam, blend the preserves with an immersion blender until it is the consistency you prefer.
- Transfer to sterilized jars using funnel, clean the edges of the jars, and then seal.
Notes:
- To determine when jam has set using a thermometer, the jam should reach 220℉. If the temperature is toggling between 219℉ and 220℉, this is not sufficient. You will know when it is a solid 220℉ since the temperature will then rapidly start rising to 221℉ - 222℉.
- If you do not have a thermometer, then once the jam appears to be thickening, place a small amount in a bowl and place in freezer for rapid cooling. After a minute or so, remove from freezer. If you can swipe a finger through the jam and it remains separated, then you're ready to go!
Blended Apple Sauce
We have an apple tree in our backyard that produces small apples that are fairly tart and have a somewhat rough and tough skin that I need to peel. If the skin on your apples is thin, you definitely don't need to peel them since the blender will take care of whatever skin you leave behind. To remove the core, I just cut one side near the core, rotate 90%, cut the second side, and do this for all four sides.
This is a very approximate recipe, since it depends upon the tartness and the juiciness of your apples. Using this as a guideline, add more water and sugar as needed.
I use Monk fruit sugar which tastes great and has zero net carbs, zero net calories and zero glycemic index! Monk fruit has been grown in southern China for hundreds of years. It's a small, melon-like fruit, and gets its name from the Buddhist monks who originally grew it centuries ago. It's a 1:1 sugar replacement.
- 3 cups fresh apple, cored and chopped
- 2 tsp lemon juice
- 1/3 cup sugar
- 1/3 cup water
- 1+ tsp allspice or cinnamon
Place all ingredients in a blender and pulse until the desired consistency is reached. Add water if needed. Taste and adjust the sugar and cinnamon until it's perfect!
Whipped Coconut Cream
This is a great topping for any dessert, fruit or for your morning waffles! You have to realize that this is not pretending to be whipped cream, since you won't get the same whipped peaks. Instead, consider it a creamy topping that you can enjoy when whipped cream is not an option. If you're not a fan of coconut flavor, adding in the suggest flavorings below will help mask the coconut.
Since I've had a couple of failures making this, I thought I would share some tricks on how to make this nice and creamy.
For the canned coconut cream, I use Thai Kitchen brand. If coconut cream is not available, you can use canned coconut milk (don't shake it!), in which case you will use only the layer of cream off the top, leaving the coconut water for in a smoothie or other recipe. If you do this with coconut cream, you may find it gets clumpy when beating, in which case you will need to add back at least some of the coconut water.
- 1 can coconut cream
- your favorite sweetener
- optional flavoring (vanilla extract, cocoa powder, pumpkin pie spice, citrus zest)
- Refrigerate the can of coconut cream overnight, 18-24 hours.
- Chill a metal bowl and beaters in the freezer for 10 minutes.
- Place the can of coconut cream in the chilled bowl and whip at medium speed for 1-2 minutes, or until fluffy.
- Add in the sweetener and optional flavoring. Whip just until blended.
- Serve immediately. Cover and refrigerate any leftovers.